

Seismic V02.03 (2022) - Rondo DONN® ({{ country }})
DONN® seismic design to:
- AS/NZS 1170.0:2002 Structural Design Actions - Part 0: General Principles (inc. Amendments 1 - 5)
- AS/NZS 2785:2020 Suspended Ceilings - Design and Installation
- AS 1170.4:2007 Structural Design Actions - Part 4: Earthquake Actions in Australia (inc. Amendments 1 & 2) Section 8: Design of parts and components
- AS / NZS 1170.0:2002 Structural Design Actions - Part 0: General Principles (inc. Amendments 1 - 5)
- AS / NZS 2785:2020 Suspended Ceilings - Design and Installation
- NZS 1170.5:2004 Structural Design Actions Part 5: Earthquake actions - New Zealand (inc. Amendment 1) Section 8: Requirements for parts and components
building data
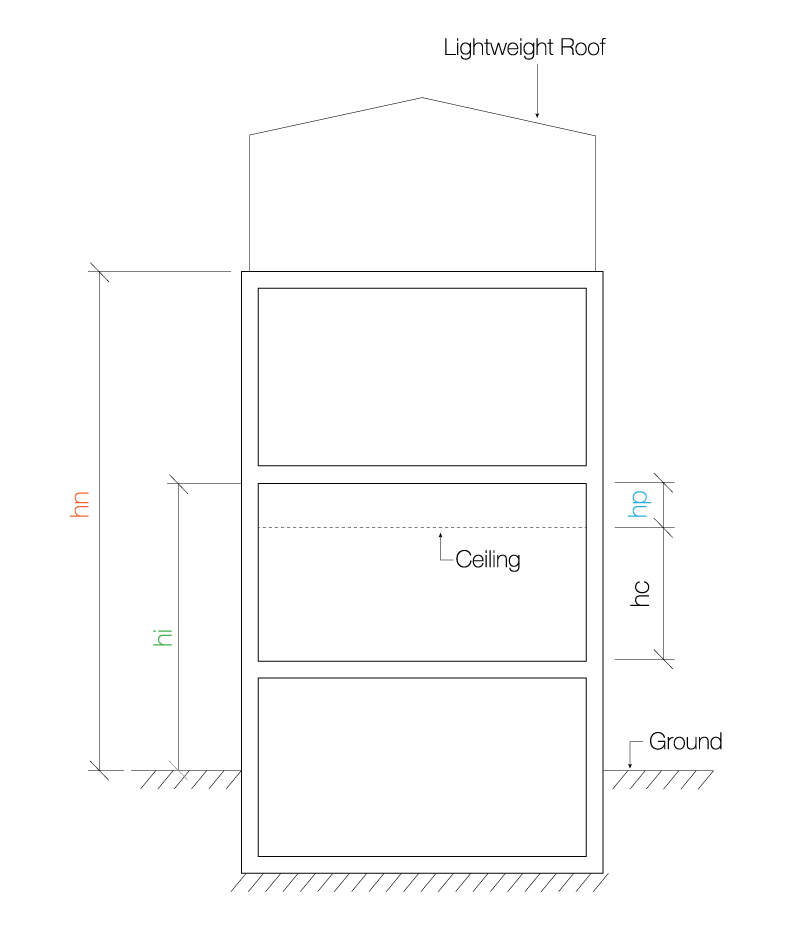
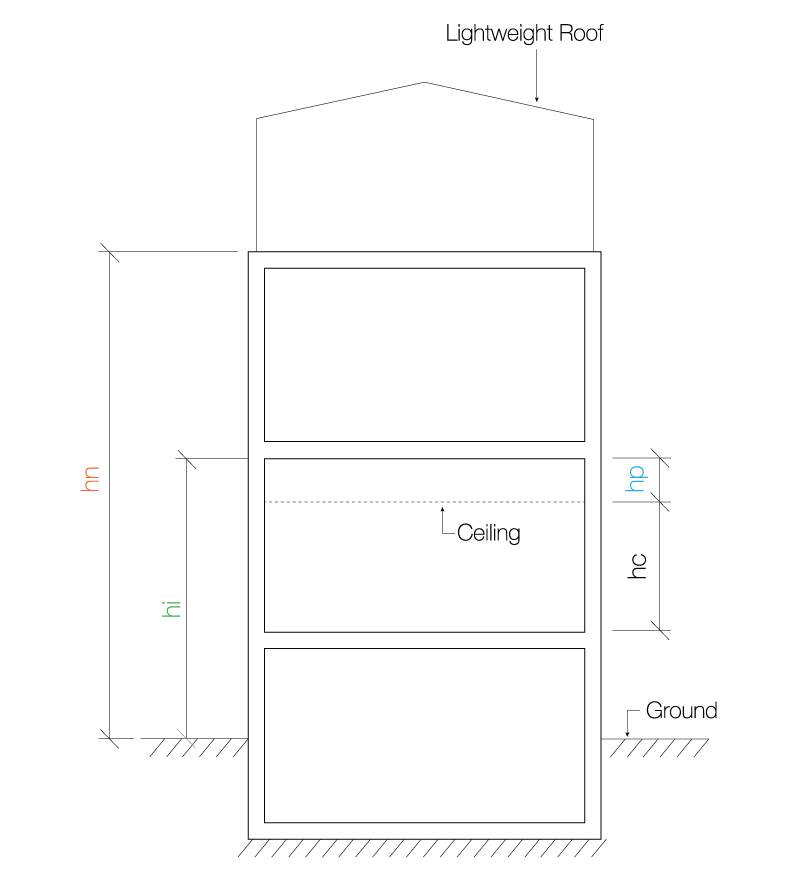
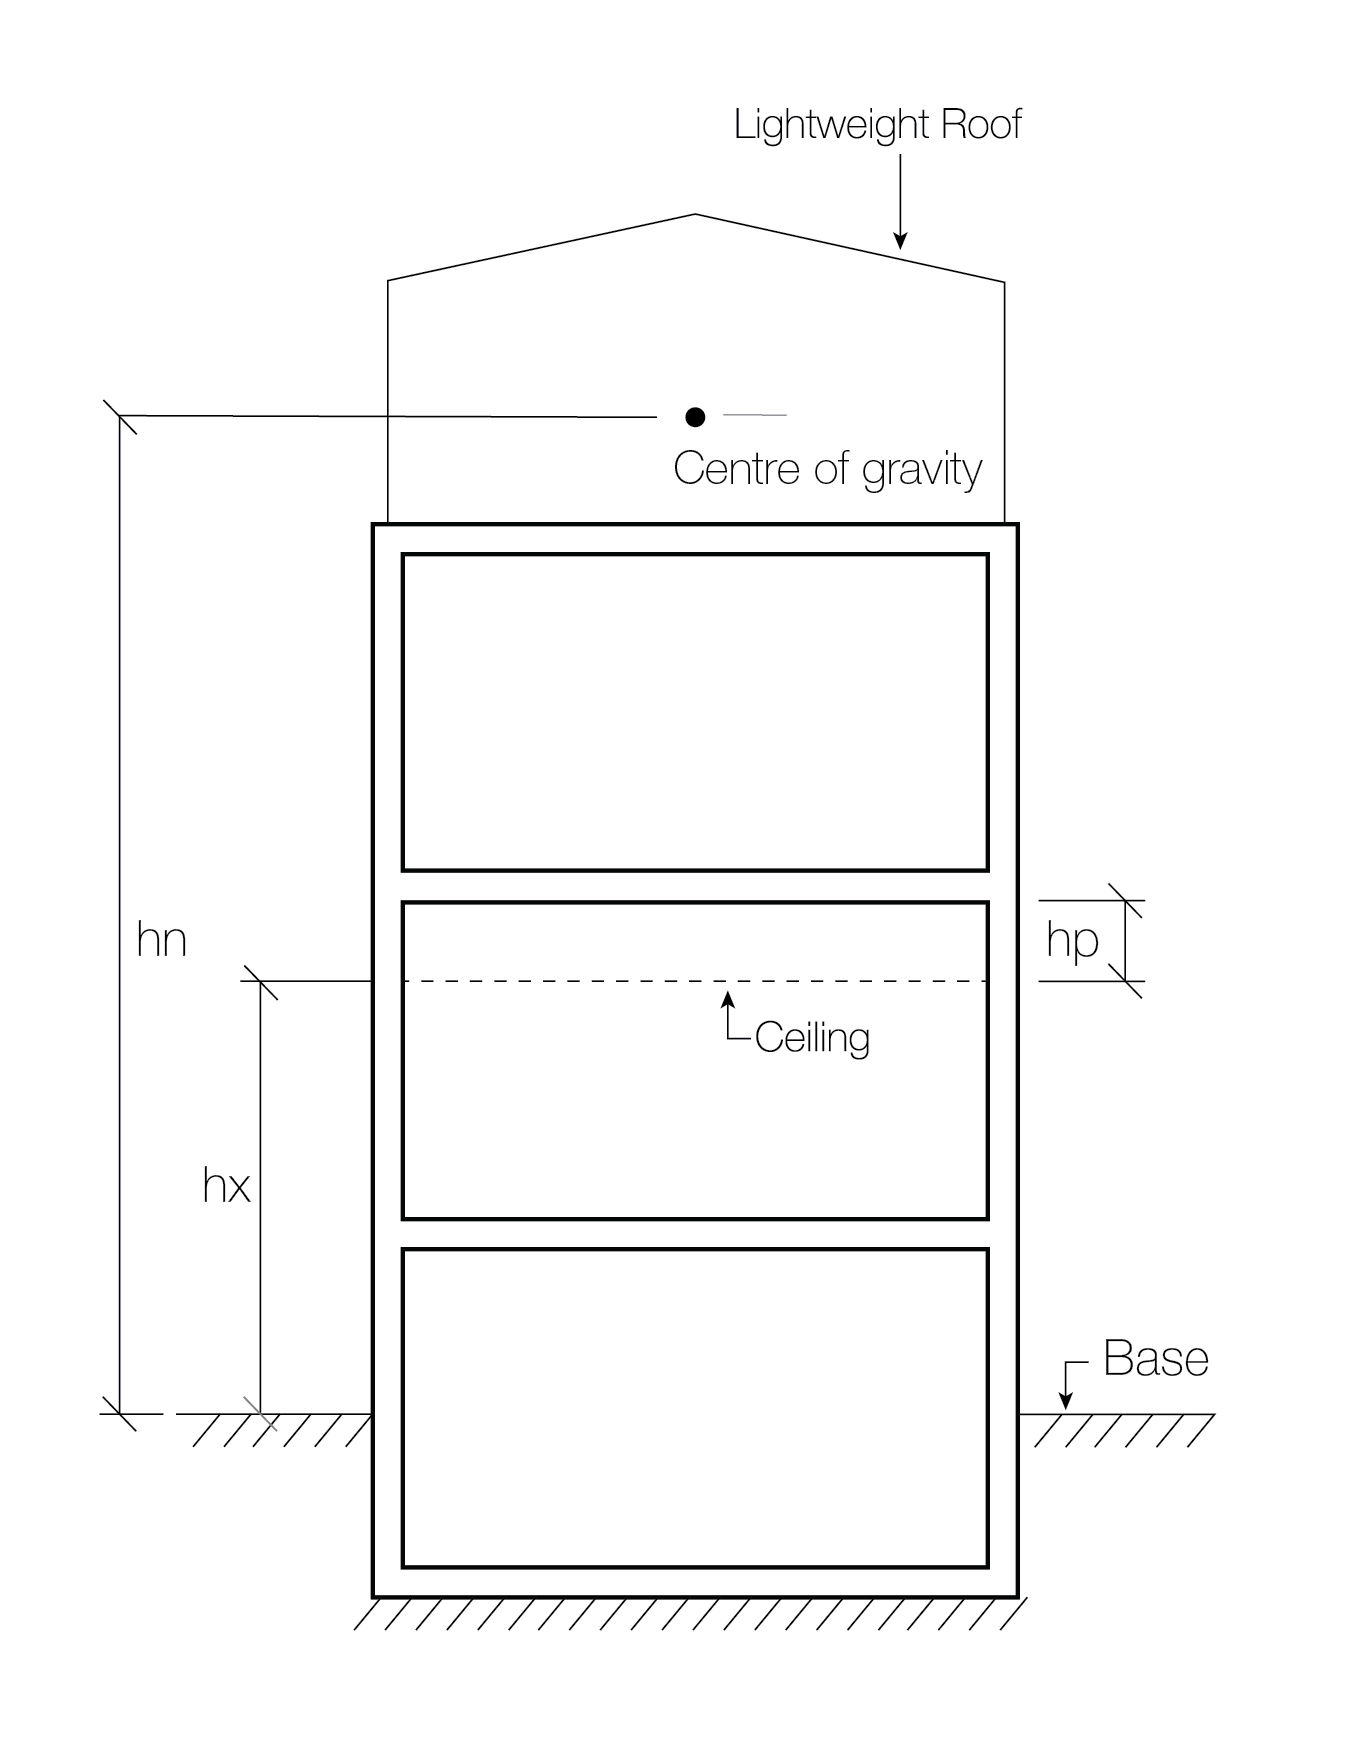
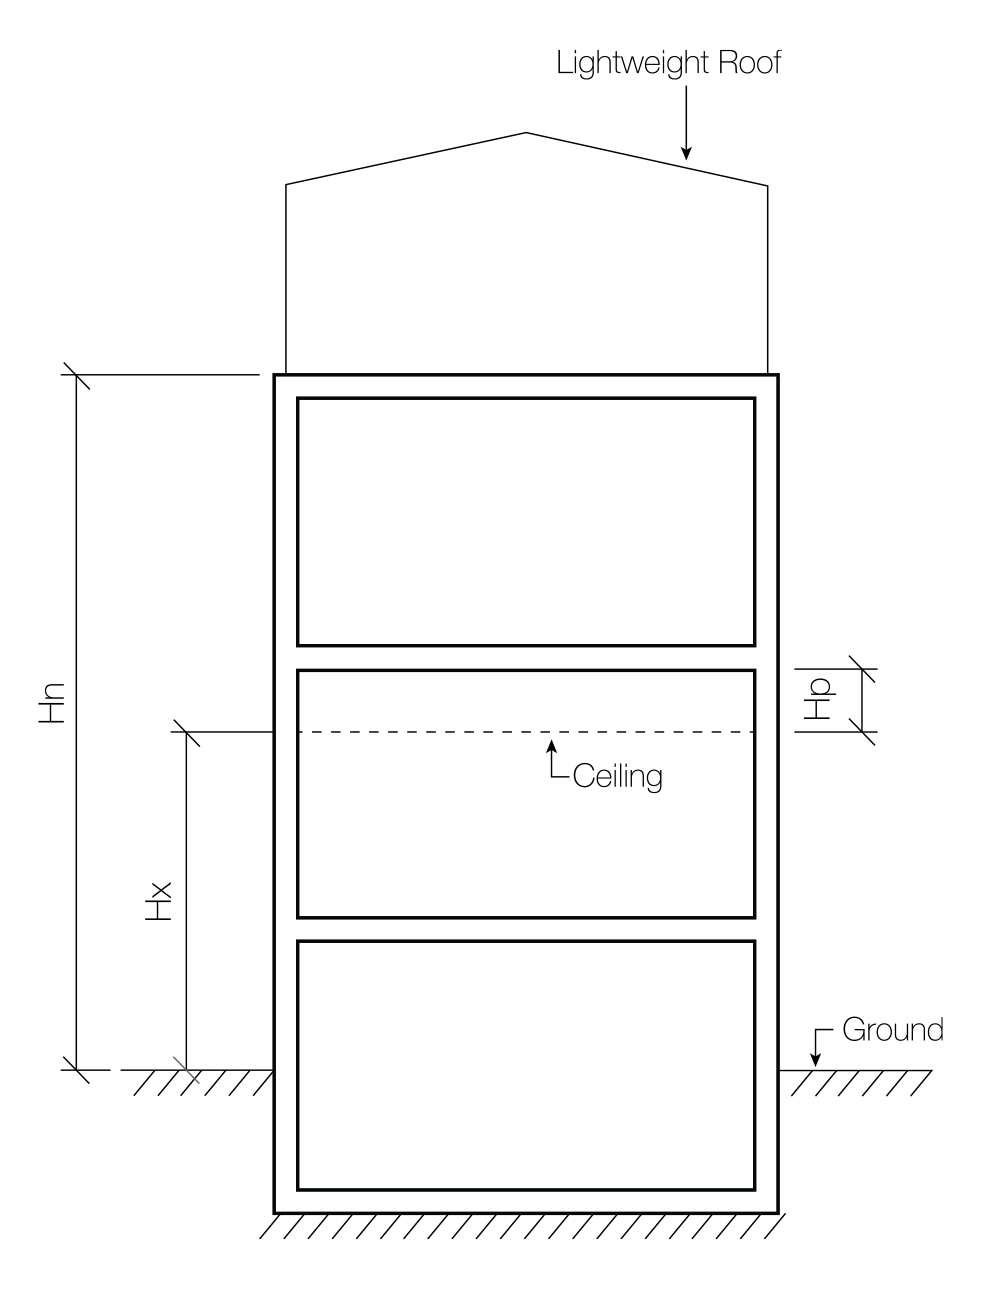
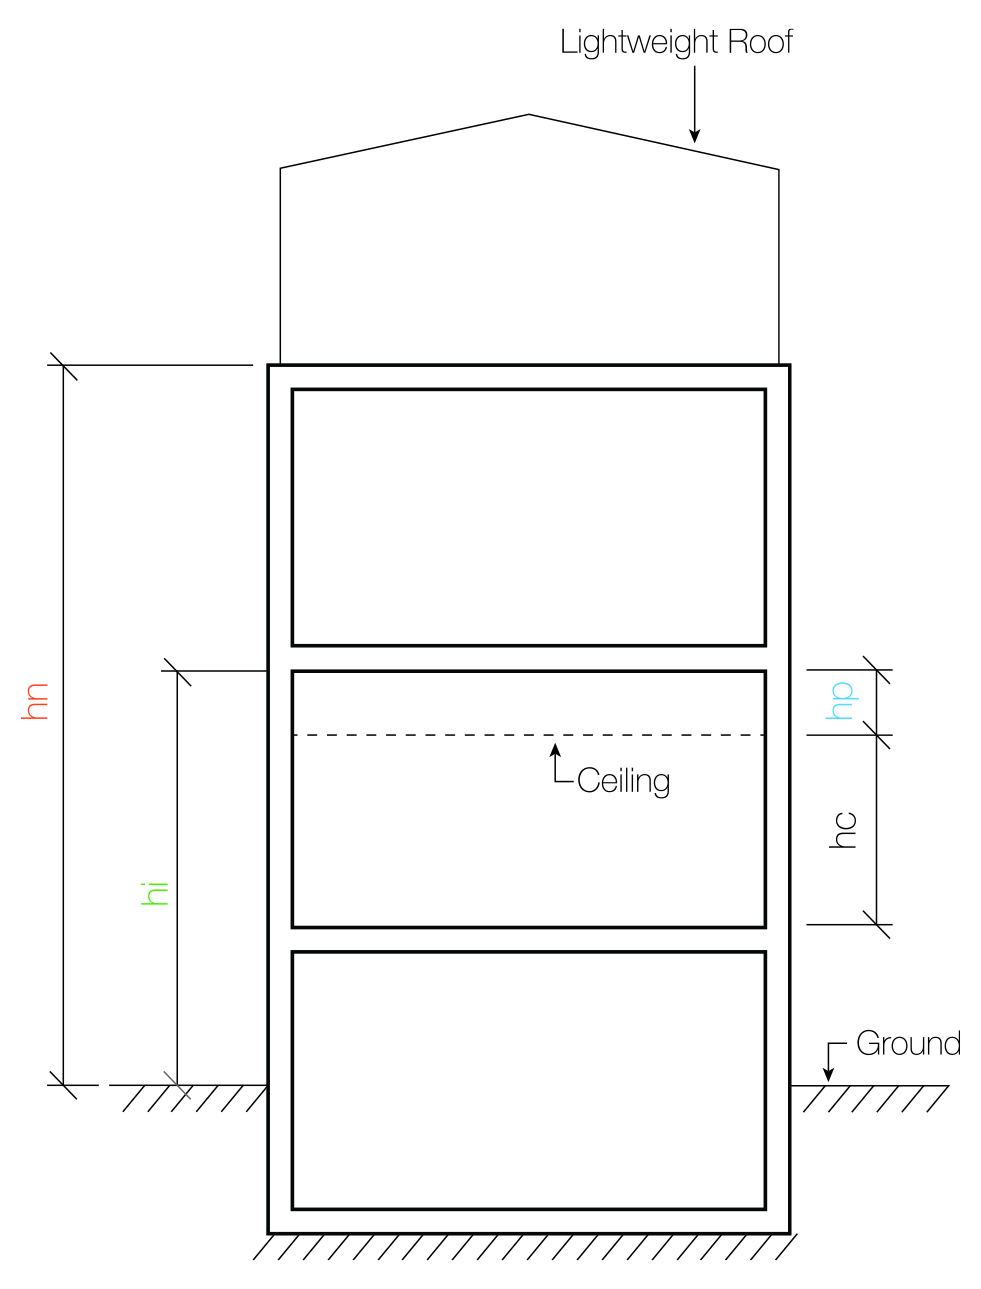
Geometry Data


Imposed Loads
Tile Weight: {{ tile_weight }} kg/m2
Imposed Loads
Rondo specific engineering design is required where the actual weight exceeds the nominated allowable loads above.
Service Load Data
RONDO DONN INSTALLATION DETAILS
Main-Tee Spacing [A]: {{ nan(donn_installation.mts,3) }} m
Cross-Tee Spacing [B]: {{ typeof donn_installation.cts == 'string' ? donn_installation.cts : nan(donn_installation.cts,3)}} m
Main-Tee Span [C]: {{ nan(donn_installation.mtsp,3) }} m
Vertical Capacity Check
| Total Ceiling Weight [G] | {{ equivalent_ceiling_weight && nan(equivalent_ceiling_weight,3) }} kg/m2 |
| Allowable Ceiling Weight [G] | {{ allowable_ceiling_weight && allowable_ceiling_weight.toFixed(3) }} kg/m2 |
Vertical Capacity ok? {{ vertical_capacity }}
| LC1: 1.2G + 1.5Q - Main Tee | >1.0 | {{ donn_vertical_check.mt.toFixed(3) }} |
| LC1: 1.2G + 1.5Q - Cross Tee | >1.0 | {{ donn_vertical_check.xt.toFixed(3) }} |
| LC2: G + ΨcQ | mm | {{ donn_vertical_check.gu.toFixed(2) }} |
| L / | {{ donn_vertical_check.l.toFixed(0) }} |
Please select a location to continue
Whilst every care has been taken in the preparation of Rondo Wizards, products and systems do change over time, and interpretations may vary, which means Rondo Building Services Pty Ltd cannot accept liability for the accuracy of information supplied (or lack thereof), or any consequences which happen as a result. Rondo Wizards are intended as a guide only and do not replace professional judgement. Installation of Rondo products must also be in accordance with the Rondo Professional Design Manual which is also available on the Rondo website. Design assumes ceilings are installed in accordance with the Rondo Professional Design Manual. Walls are to be checked independently.